Mbsm.tn, Plugins wordpress 2026, auto Gerate HTML Statistic File for Article on edit or all Articles
The Future of Digital Archiving: Why We Built the MBSM Static HTML Protocol
In an era of bloated websites, heavy JavaScript, and slow-loading databases, the internet has lost something essential: Simplicity.
When you spend hours writing a high-quality technical guide or a deep-dive article, you aren’t just creating a database entry. You are building a resource. But what happens when your reader is on a slow connection? Or when they need your content in a place with no Wi-Fi? Or when a server goes down?
This is why we developed MBSM Static HTML Export v2.1.3. We wanted to bridge the gap between a “Living WordPress Site” and the “Permanence of a Document.”
Beyond Just a Backup
Most people see “Static Export” as a backup tool. We see it as a User Experience tool. When our plugin generates a .htm version of your post, it’s doing more than just copying text. It’s creating a self-contained ecosystem.
- Offline Freedom: By using the “Download as PDF” and the specialized print optimization we’ve built-in, readers can take your expertise with them. Whether it’s a lab environment, an airplane, or a remote job site, your information is there.
- The Power of Accessibility: We’ve integrated the Google Translate Protocol directly into the static export. This means your “static” page is still smart enough to talk to a global audience, without needing a heavy WordPress engine to do the heavy lifting.
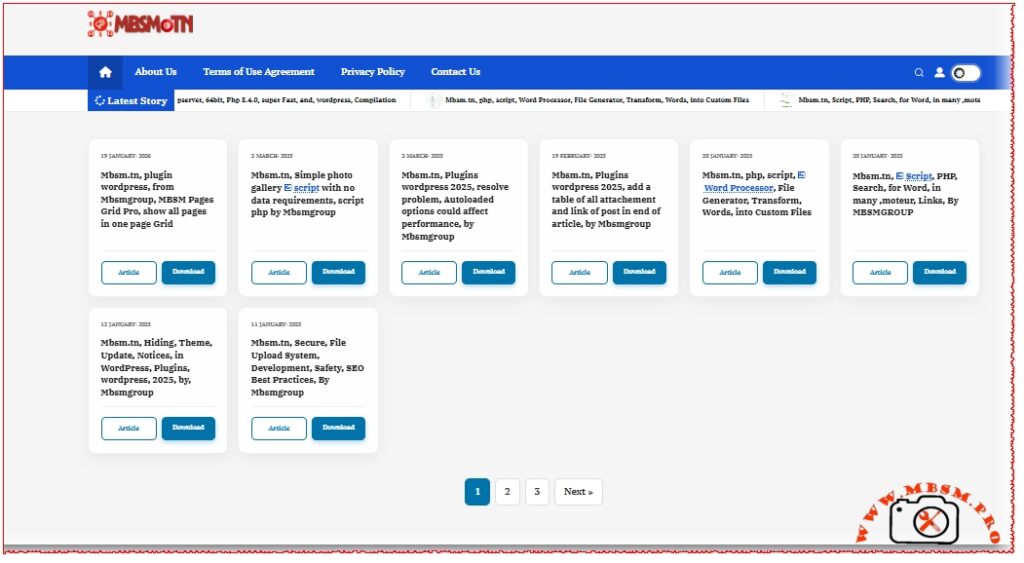
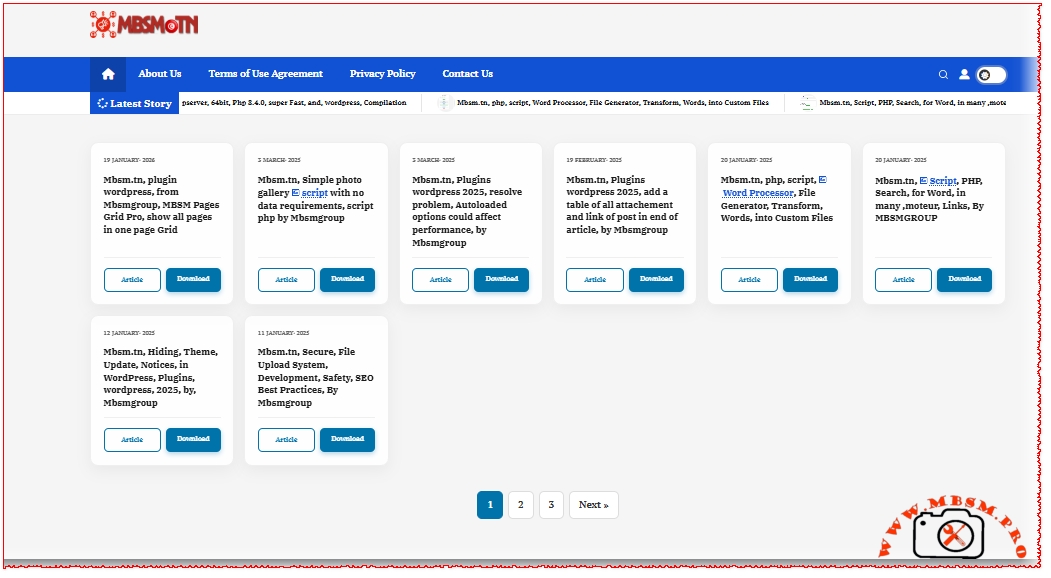
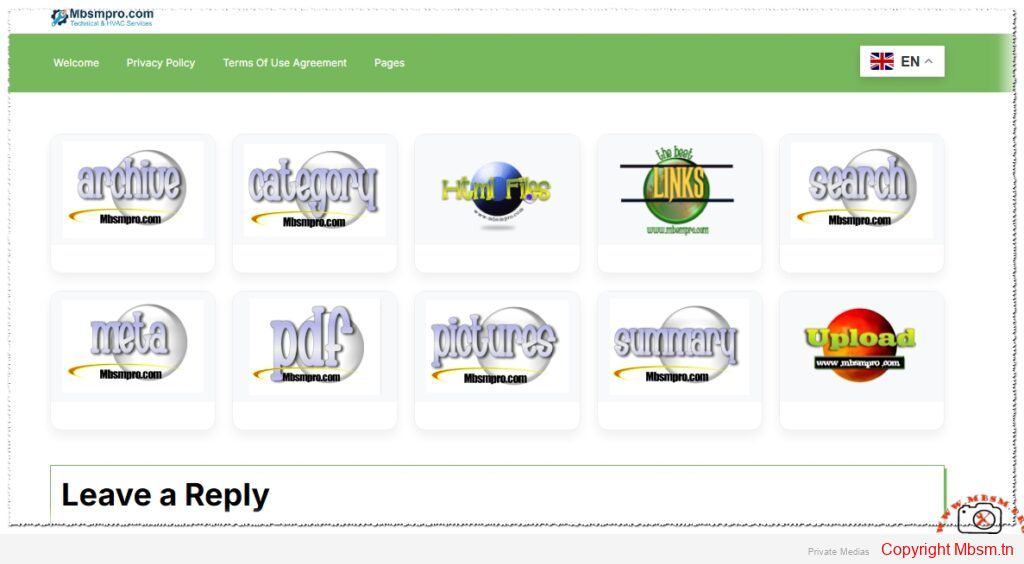
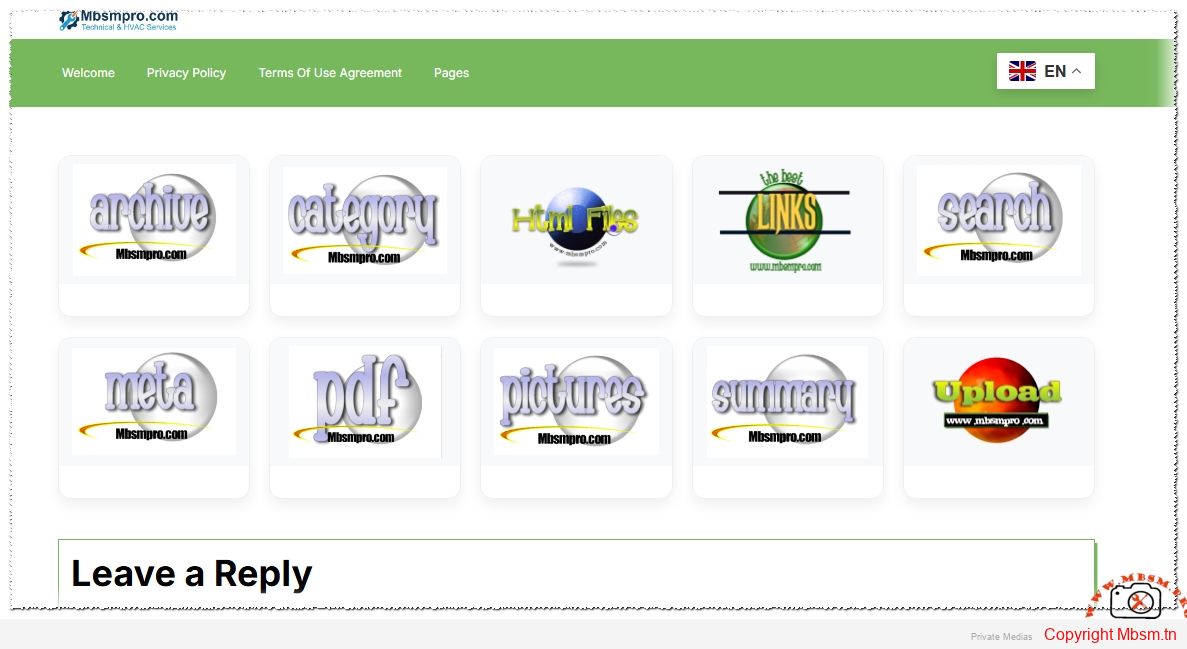
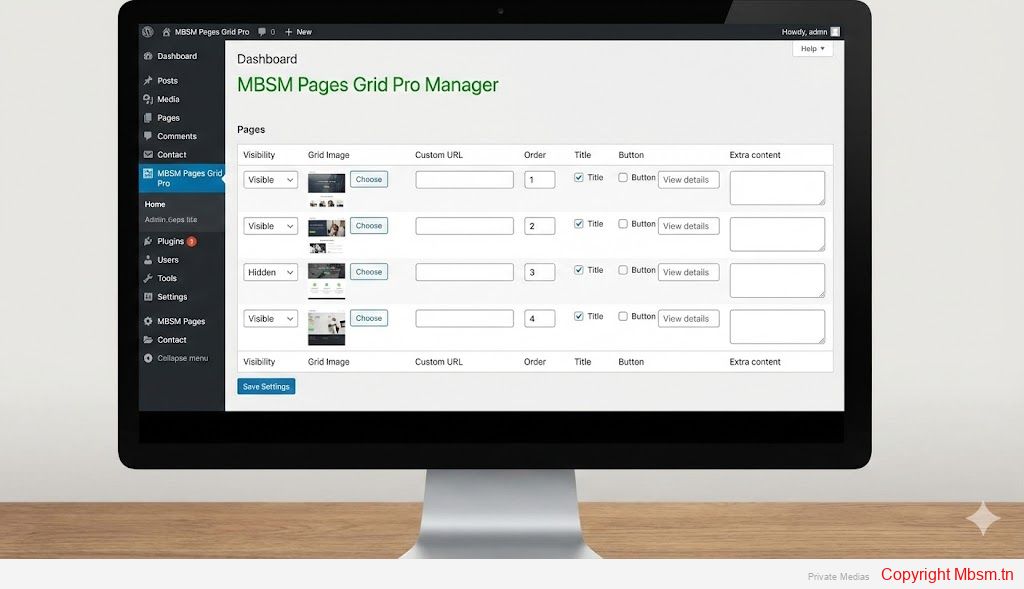
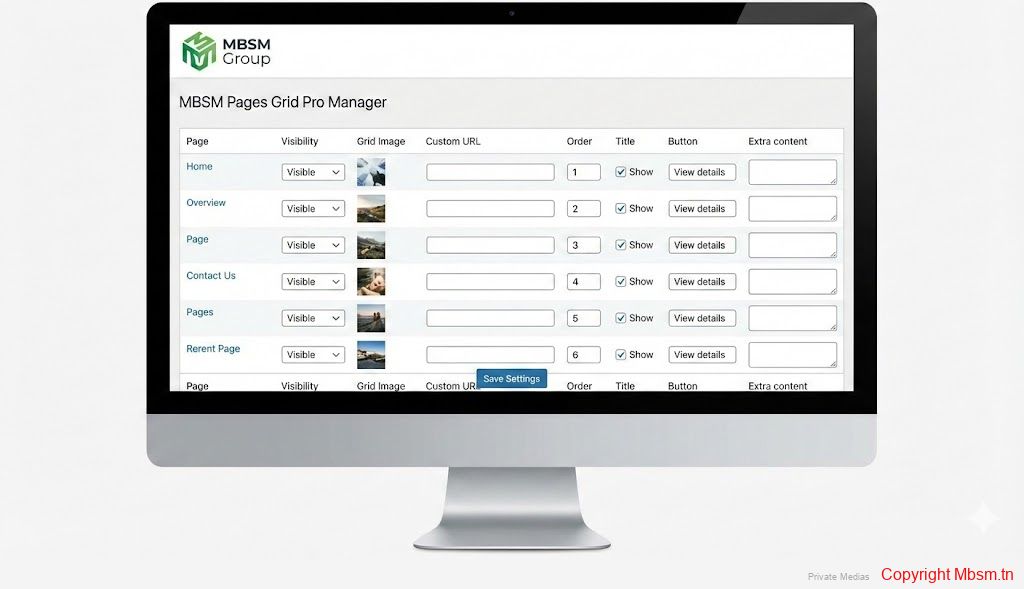
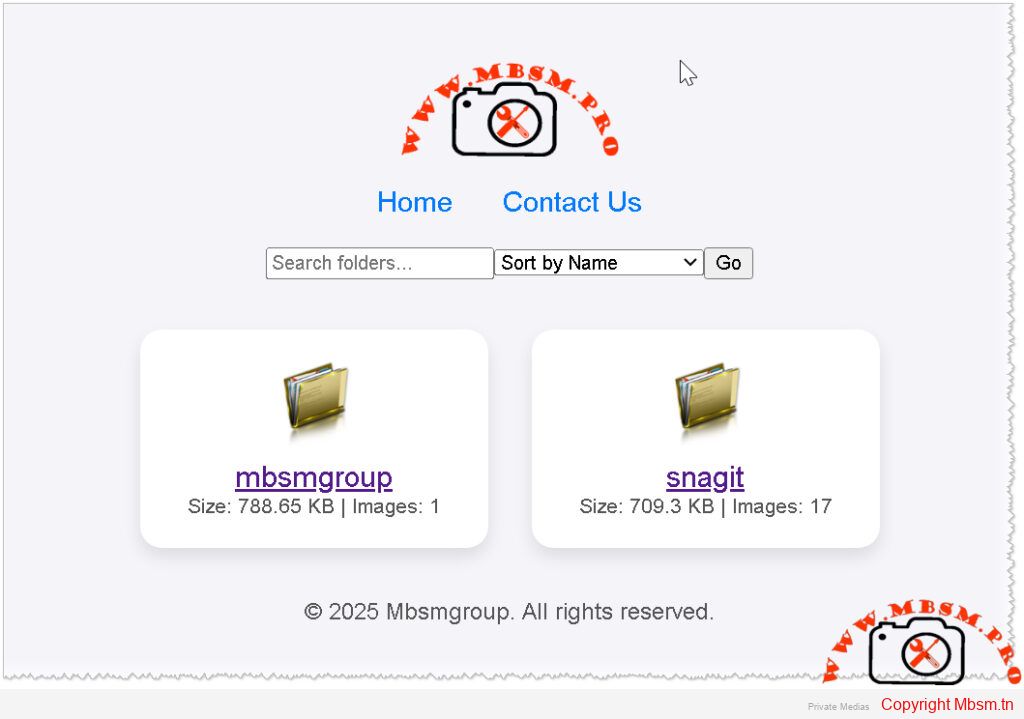
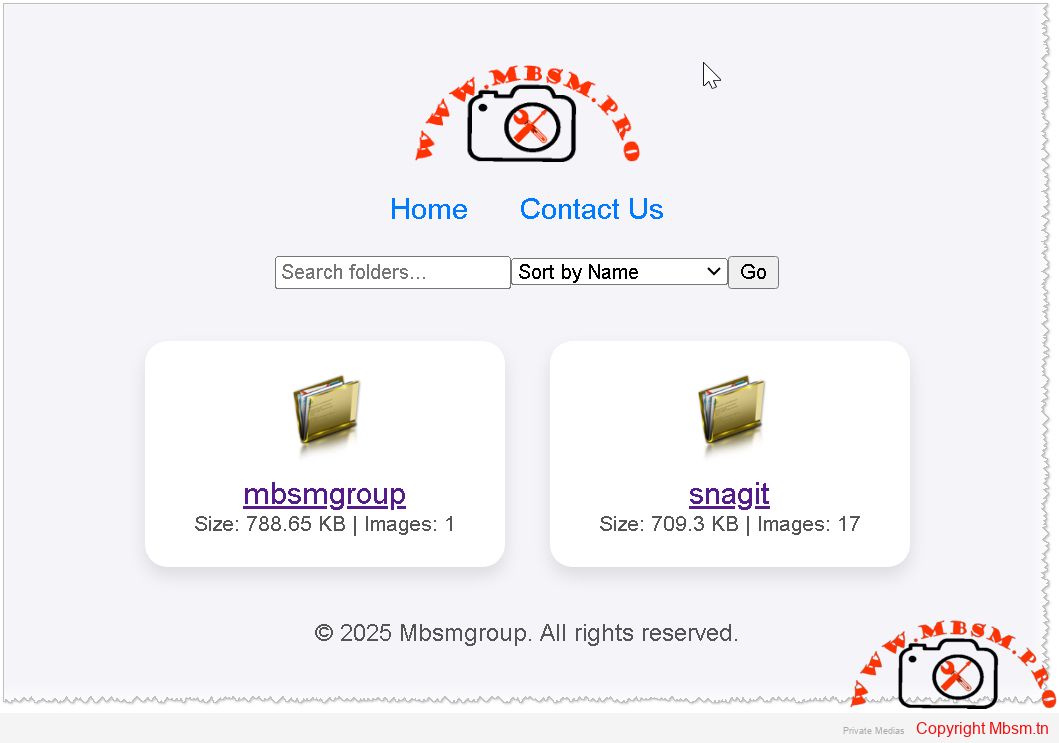
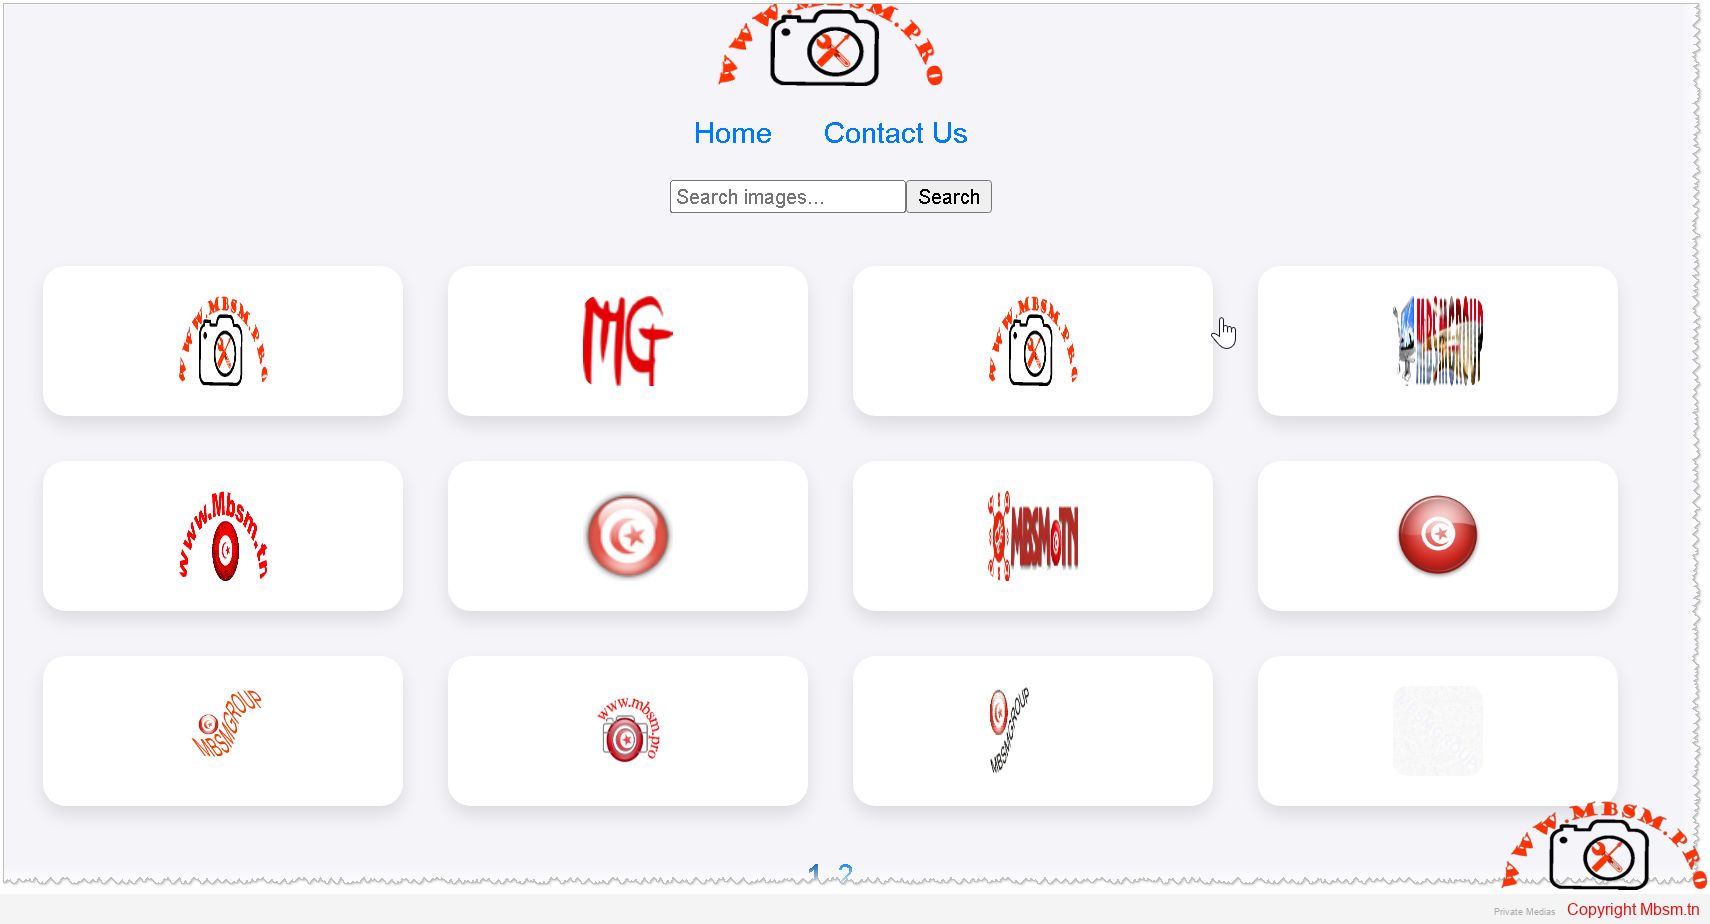
- The “Clean Content” Movement: Notice how the static files look. We’ve removed the sidebar clutter and the non-essential scripts. What’s left is a “Full-Screen Experience” focused on your images, your tables (now with our mobile-responsive fix), and your words.
Technical Craftsmanship for Humans
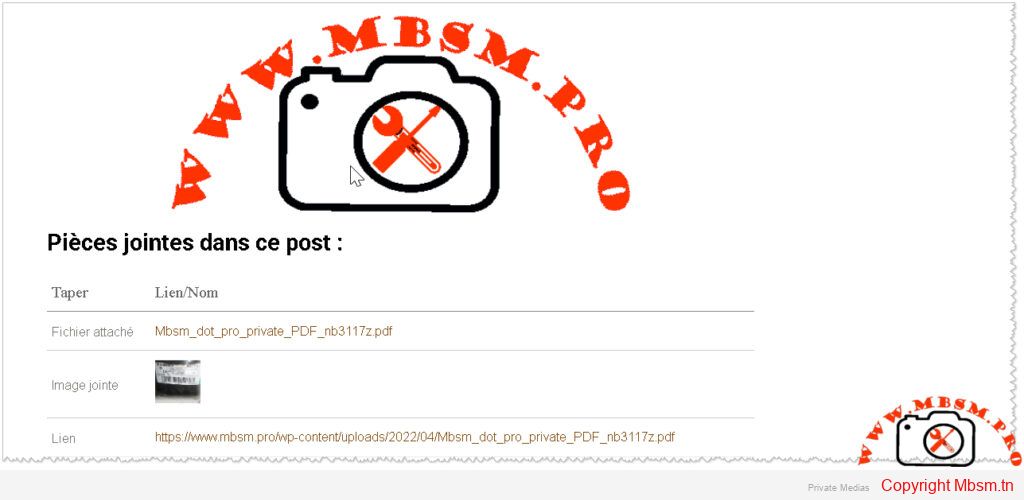
In version 2.1.3, we added the PDF Embedder. Why? Because many technical blogs rely on official documents and datasheets. A typical website makes you click away to open a PDF in a new tab. Our static protocol embeds that knowledge directly into the page flow. It feels natural. It feels human.
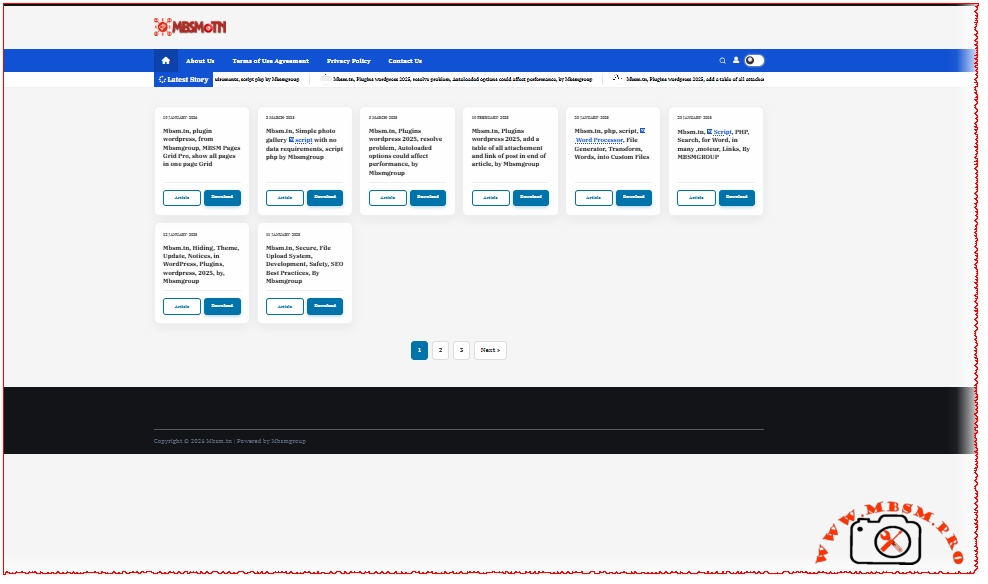
We also restored the Related Posts and Recent 50 logic for a very specific reason: Context. A human reader never just wants one fact; they want the journey. By including the latest technical guides in the static sidebar, we allow a user to navigate through your library even when they are browsing the offline folder.
Our Philosophy at MBSM Group
At the end of the day, code should serve the user, not the other way around. By stripping away the database and keeping the content, we aren’t moving backward. We are moving toward a faster, more resilient, and more helpful web.
MBSM Static HTML Export isn’t just an export tool. It’s a guarantee that your content stays fast, stays alive, and stays useful—forever.
https://mbsm.tn/wp-content/uploads/Mbsm/mbsm-static-html-2026.zip
Use this for the legal distribution of your plugins:
COPYRIGHT NOTICE
Copyright © 2025-2026 MBSM Group. All Rights Reserved.
“MBSM Pro”, “MBSM Group”, and the associated logos are proprietary trademarks of MBSM Group.
This software is distributed under the GPLv2 License. While the code is open-source, the Brand Name and MBSM Smart Cleaning / Static Export Protocols are the intellectual property of MBSM Group. Unauthorized redistribution of the software under a different brand name is prohibited.

=== MBSM Static HTML Export ===
Contributors: mbsmgroup
Tags: static html, export, speed, seo, backup, performance, pdf embedder, html generator, mbsm, page-speed
Requires at least: 5.0
Tested up to: 6.5
Stable tag: 2.1.3
License: GPLv2 or later
License URI: http://www.gnu.org/licenses/gpl-2.0.html== Description ==
MBSM Static HTML Export (Version 2.1.3) is a specialized tool engineered by MBSM Group for high-performance digital archiving and site optimization.
It allows WordPress owners to automatically convert dynamic blog posts into standalone, lightning-fast
.htmland.htmfiles. These files are database-independent, making them perfect for offline browsing, extreme SEO speed scores, and secure documentation.= Restored & Improved Features in V 2.1.3 =
- Automatic Generation: Files are built the moment you hit “Publish” or “Update”.
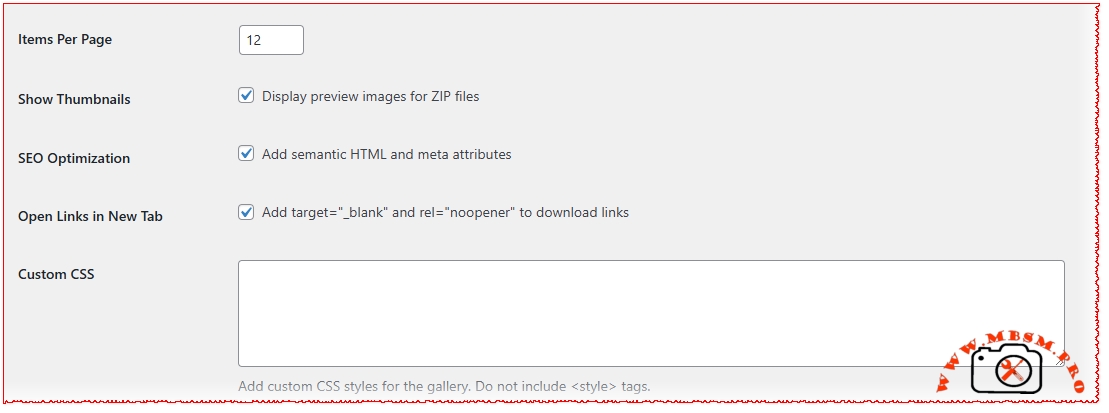
- PDF Embedder Protocol: Automatically converts PDF links into integrated, responsive iframe viewers for your static pages.
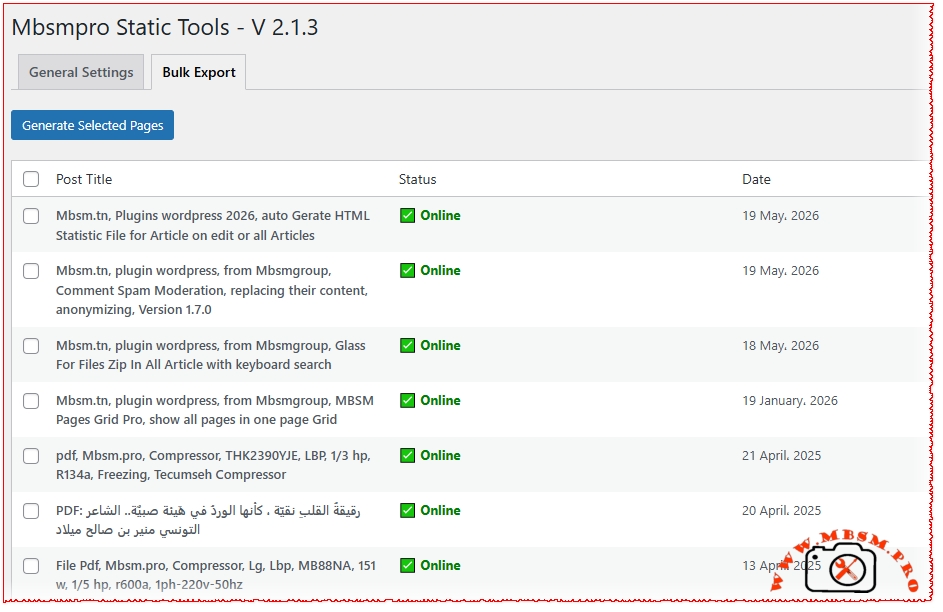
- Bulk Export Tool: A mass-generation interface with an “Online/Missing” status checker.
- Rich Static Elements: Includes Tags, Global Categories, Related Posts, and a “Recent 50 Posts” list directly in the exported HTM.
- Mobile-Responsive Tables: Exclusive logic to ensure your technical data tables remain readable on all devices.
- Google Translate Integrated: Static pages retain global reach via built-in translation headers.
== Installation ==
- Upload the plugin folder to the
/wp-content/plugins/directory.- Activate the plugin.
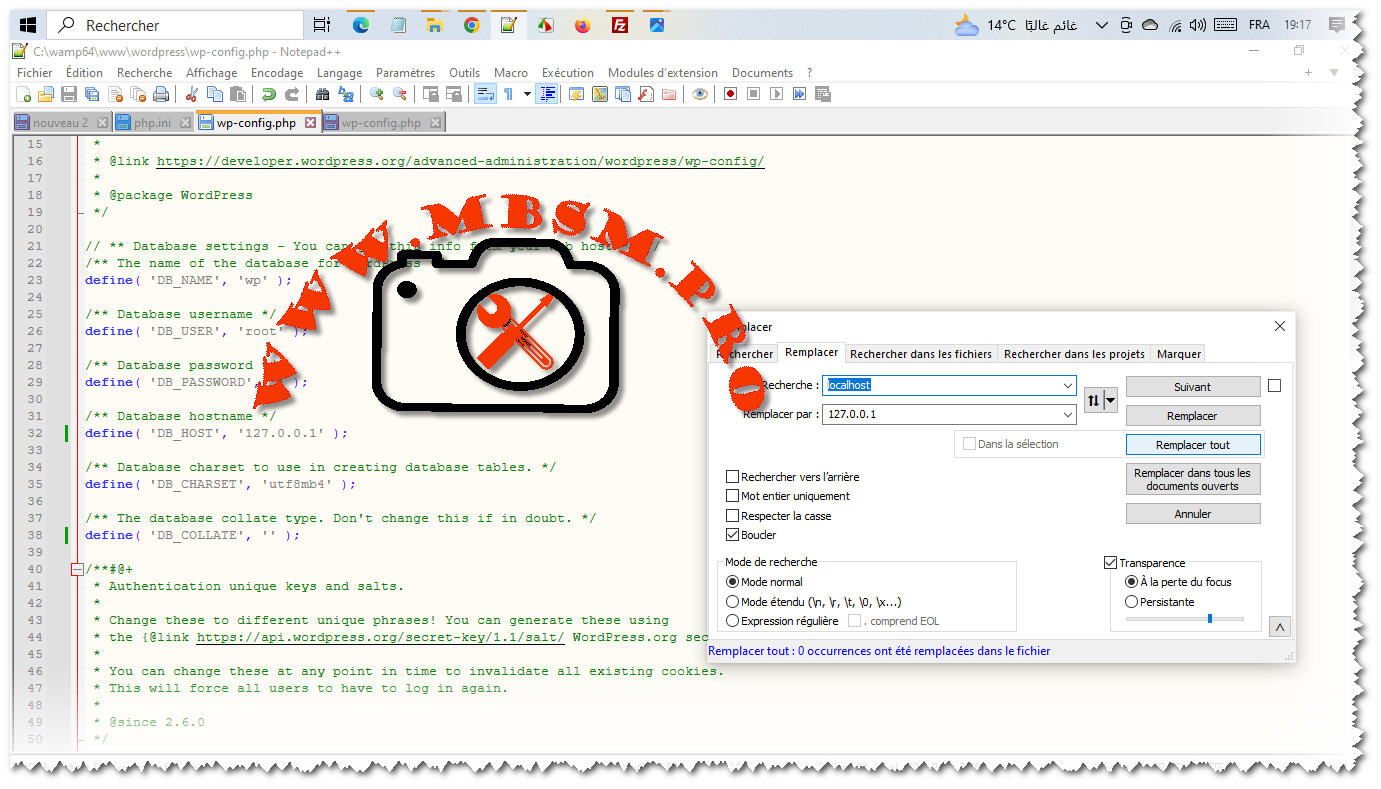
- Important: Ensure a folder named
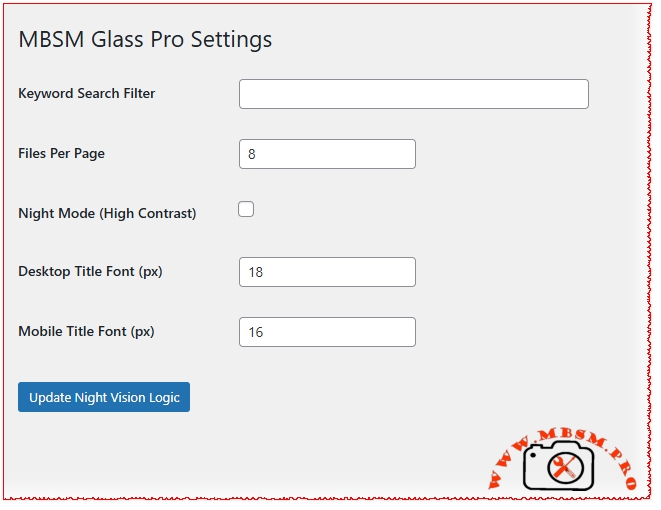
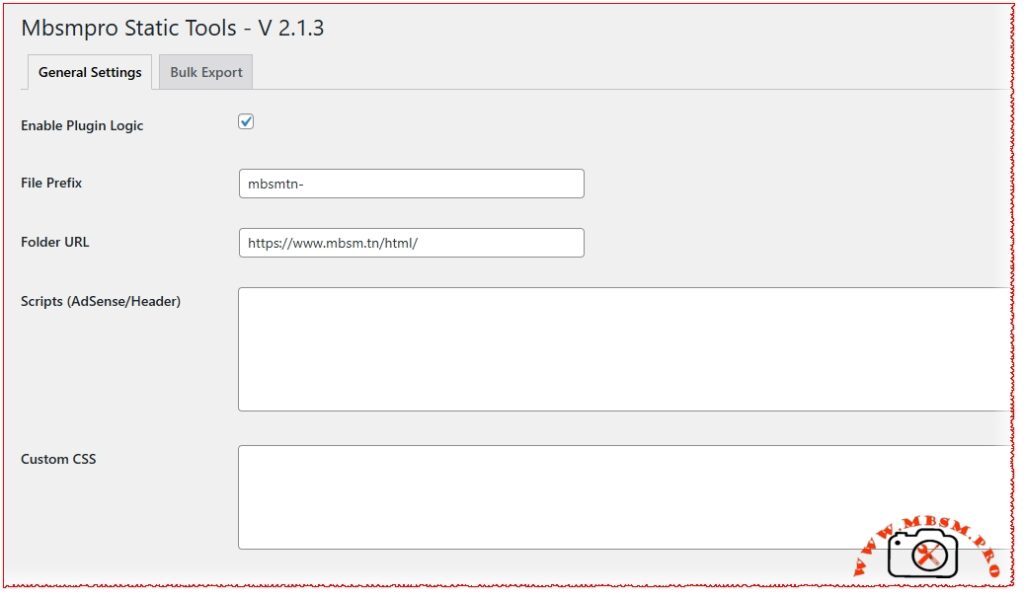
/html/exists in your WordPress root directory and has 755 permissions.- Visit Mbsmpro Html to configure your File Prefix and AdSense/CSS scripts.
== Frequently Asked Questions ==
= Where are the files saved? =
Your static pages are saved inyoursite.com/html/. You can customize the URL in the General Settings.= Does it support CSS? =
Yes! The plugin injects a specialized internal stylesheet into every export to ensure your content looks beautiful without external dependencies.== Changelog ==
= 2.1.3 =
- Restored Tags and Global Categories logic.
- Added PDF Embedder for all .pdf links.
- Optimized Mobile Responsive Tables.
- Enhanced Print/Download optimization.
= 2.0.0 =
- Introduction of the MBSM Static Builder core logic.